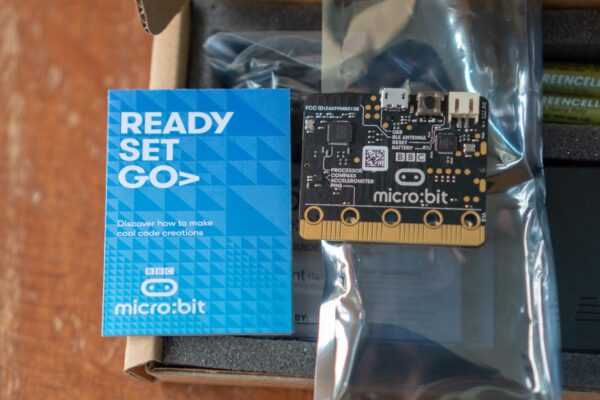
For the last two years, some students have had the opportunity to get a Micro Bit as part of a national digital maker campaign. 100,000 of these devices were rolled out in a bid to nurture a new generation of digital makers. If you haven’t got one, it’s never too late to start now.
The Micro Bit is a tiny computer circuit board designed by the BBC for use in computer education in the United Kingdom. Officially stylised as micro:bit, the device was originally announced around mid 2015, but deliveries only begain in February 2016. Singapore’s Infocomm and Media Development Authority (IMDA) embarked on the national Digital Maker Programme in 2017, and partnered the Ministry of Education to bring the Micro Bit to interested schools.
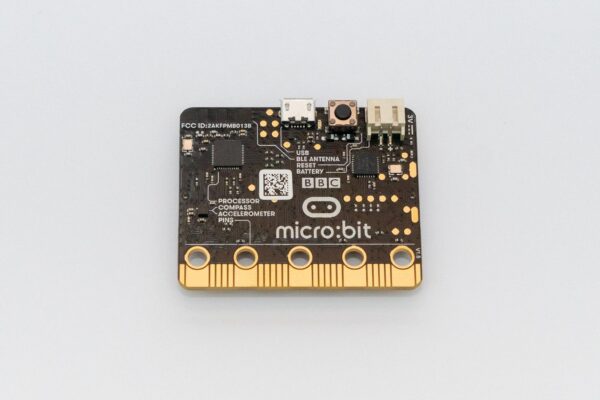
Although a very simple computer, the Micro Bit has enough sensors and input/output capabilities to use in a digital maker project. There are two on-board buttons, an accelerometer, a magnetometer, and a 5×5 array of LED lights.
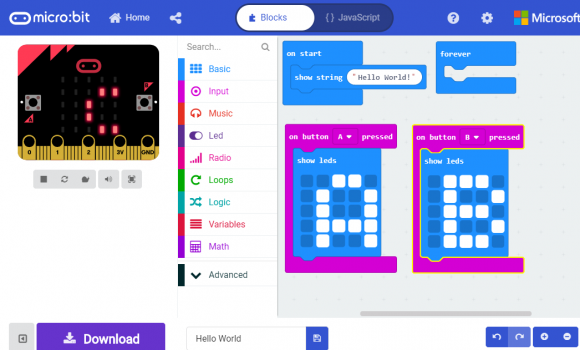
Programming the Micro Bit is relatively simple. The development environment lives entirely on the web at https://makecode.microbit.org. Programs are built online, downloaded to your computer, then transferred to a USB-connected Micro Bit which behaves like a standard USB flash drive.
The Micro Bit is powered by an external battery pack, or via a Micro USB connector. It has a Cortex-M0 processor for compute, 16 KB of RAM, and built-in Bluetooth Low Energy for radio communications. There are five ring connectors that form part of a larger 25-pin edge connector. The ring connectors provide three input/output, 5V, and ground.
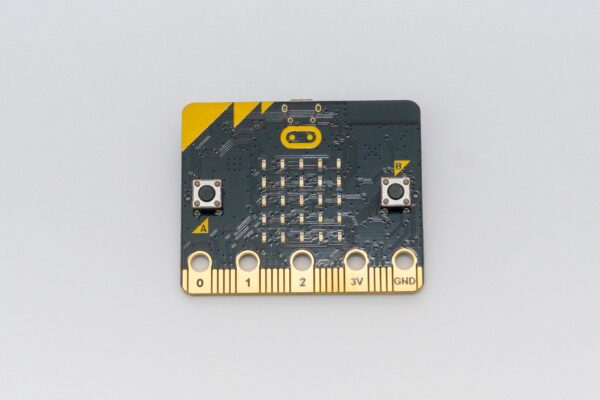
Some of those 25 pins on the edge connector have dual functions. Depending on how you use the Micro Bit, you can have three PWM outputs, six analog inputs, 17 GPIO pins, serial, SPI, and I2C. Like Arduino and Raspberry Pi boards, the Micro Bit has flexible interfaces to work with a variety of different external hardware.
Don’t worry if any of the hardware description sounds too complicated. Programming the Micro Bit is quite easy. You can choose to either use JavaScript or a block based visual programming interface. The latter is relatively straight-forward to figure out even for non-programmers. It’s as easy as Scratch, and in fact, anyone who has even some basic experience with Scratch will find the Micro Bit’s block editor instantly familiar.
More advanced programmers may want to try other language options, such as Python at https://python.microbit.org/v/1.1.
The biggest excitement, though, comes when you start interfacing the Micro Bit with other hardware. Hardware projects with the Micro Bit aren’t that difficult, and beginners can easily find plenty of tutorials on the Internet.
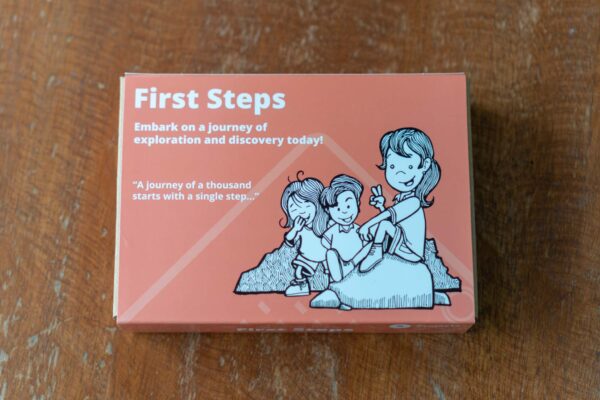
If you’re looking for Micro Bit hardware, a quick Google search will find you something on Lazada, or other online websites in Singapore, for about $30 to $35.
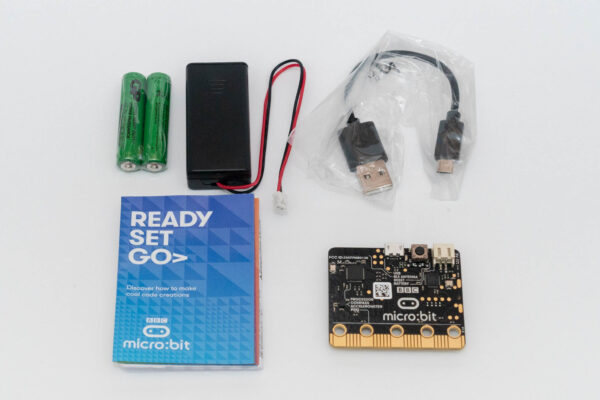
The basic kit includes the Micro Bit circuit board itself, a Micro-USB cable, a battery holder/connector, 2x AAA batteries, and some instructions.
View Comment Policy