The Raspberry Pi has been a very interesting single board computer since its original launch in 2012. It has had a number of hardware upgrades through the years, the latest being the Raspberry Pi 3 Model B this year. One of the much sought after accessory or peripheral for the Raspberry Pi came last year, an official 7″ touchscreen display.
There are no doubt other 3rd party LCD displays that can be hooked up with the Raspberry Pi. But nothing beats an officially supported display, one with the added bonus of touchscreen capability, designed specifically for the Raspberry Pi. It’s even supported out of the box with an updated Raspbian Linux distribution.
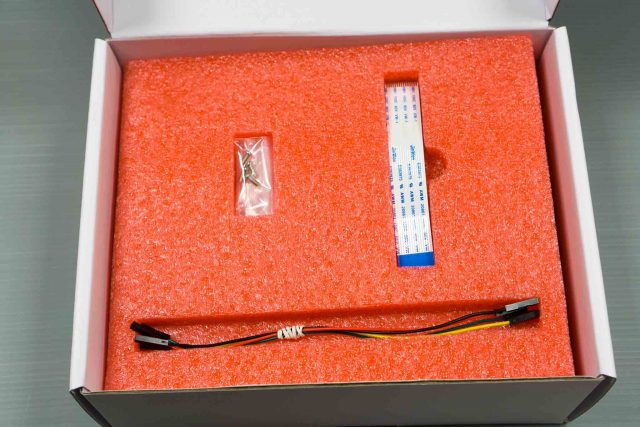
You can buy this touchscreen from Element14. It’s delivered in a well-protected box, which includes the DSI display cable, some jumper cables, and mounting screws, The mounting screws are used to attach a Raspberry Pi to the back of the display.
There’s a separate display driver board that used to be packed separately and required some assembly. However, they’ve subsequently pre-assembled the driver board to the back of the LCD display. Now, apart from the cabling, you only need to mount the Raspberry Pi board over the display driver board.
The 7″ Touchscreen Display is technically compatible with all versions of the Raspberry Pi that has a DSI port. Yes, that’s actually just about all the Raspberry Pis, except perhaps the new miniature Raspberry Pi Zero, and the Compute Module. However, the mounting holes on the driver board are designed to match up only with the Raspberry Pi 3, Raspberry Pi 2, Model B+, and Model A+.
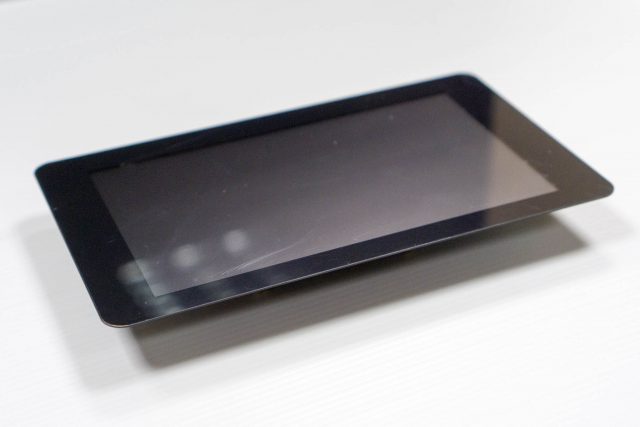
The display resolution is a basic 800×480. It’s not much by today’s standard, and I’m sure many people might have loved to see Full-HD resolution. The 7″ Touchscreen Display, however, also includes a decent 10-finger capacitive touchscreen capability, and for its asking price, I think it’s a pretty good deal. The touchscreen is probably more useful than Full-HD resolution. Of course, better yet if you can have both, though that will certainly push up the price.
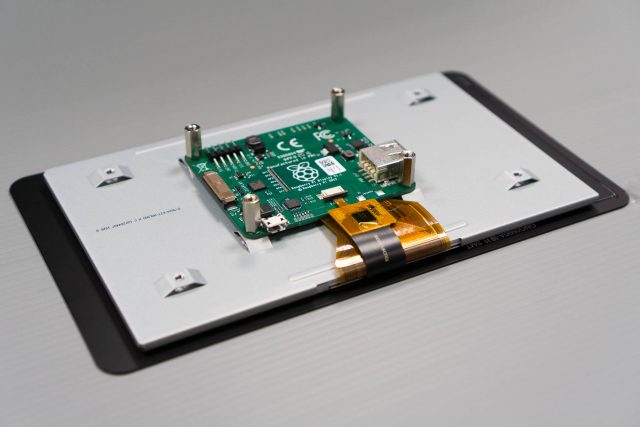
The display driver board is mounted on the back of the LCD display. As mentioned earlier, it’s now pre-assembled, exactly as you see in the above photo.
The driver board has its own Micro-USB port used to supply input power. You can then power the Raspberry Pi board from the display driver board using the jumper cables. Alternatively, you can supply power directly to the Raspberry Pi using its Micro-USB port, then have it power the display driver board using the jumper cables.
Yet another power configuration is to have the Raspberry Pi board and display driver board powered independently. In this case, the only cable connection required is the DSI display cable.
I2C is used for carrying touchscreen inputs. On the Raspberry Pi 3, Raspberry Pi 2, Model B+, and Model A+, I2C is available on the DSI connection, so you don’t actually need to connect up the SDA/SCL pins on the GPIO.
You can follow this tutorial on The Pi Hut for detailed setup instructions.
Another related, useful, accessory to have is the display enclosure for the 7″ Touchscreen Display with a Raspberry Pi.
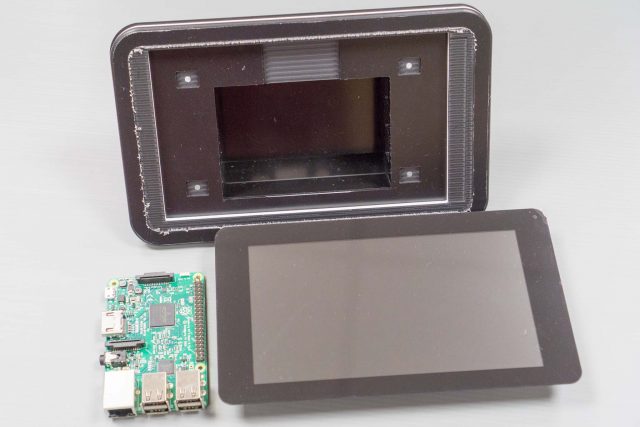
The enclosure is designed specifically for the official 7″ Touchscreen Display and a Raspberry Pi, so everything fits perfectly. There are cutouts for all the ports on the Raspberry Pi on the back, so that they are all easily accessible. You’ll need to be creative with GPIO connections though, if you want to use them.
The enclosure was meant to stand upright, but you can also lay it down at a flatter angle for table-top use.
Interesting, there was some changes in how the display was meant to be oriented. As it is now, the default display orientation is upside-down when you use with the enclosure standing upright. To invert the display, you’ll need to put this in /boot/config.txt:
lcd_rotate=2
Reboot, and the display orientation will be correct.
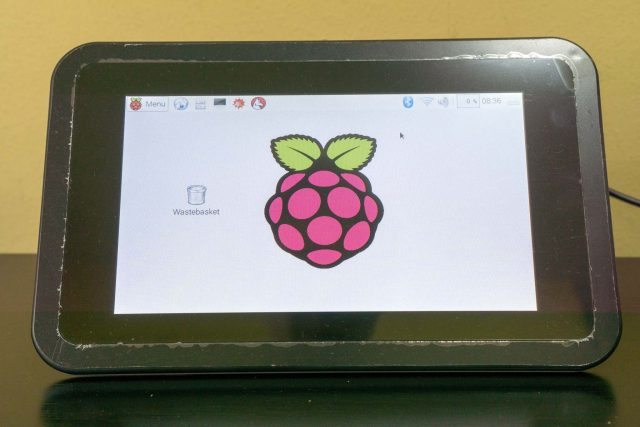
Touch inputs work out of the box as long as you have an updated Raspbian, so there’s nothing to do or setup. You’ll need to install an onscreen keyboard though, if you require a virtual keyboard. You can either use matchbox-keyboard or florence.
The 7″ Touchscreen Display and enclosure will enable you to easily setup a decent kiosk hardware in no time. No need to custom build anything.
Nice set-up!
Did you try that Poe Hat for Raspberry Pi?