Instead of using a regular wireless broadband router at home, I’ve been using a DIY pfSense box for a number of years. pfSense has provided excellent performance and reliability. The DIY box had a sort of hardware refresh a short while ago. Just for interest, here is the “BOM” — Bill of Materials — for this box.
Atom processors were the rage previously for low-power embedded systems. These days, they have been taken over by Celeron processors (though, interestingly, the Knights Landing processor uses Atom cores). I wasn’t very adventurous with high-performance CPU, and stuck with a middling Intel BayTrail N2930 processor. It is clocked at 2.16GHz, has 2MB cache, and while it has TDP spec’ed at 7.5W, the Scenario Design Power (SDP), which is the real-world performance, is listed at just 3.5W.
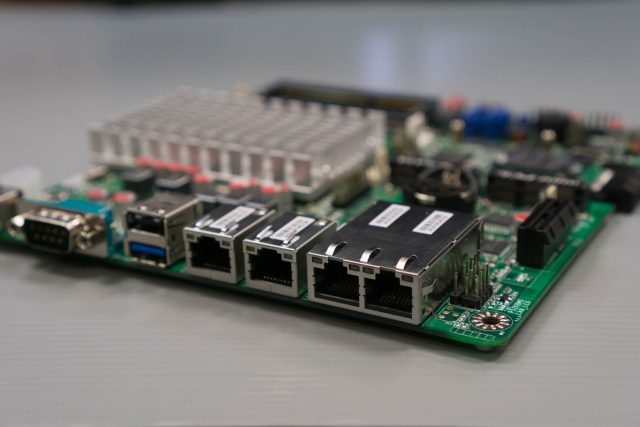
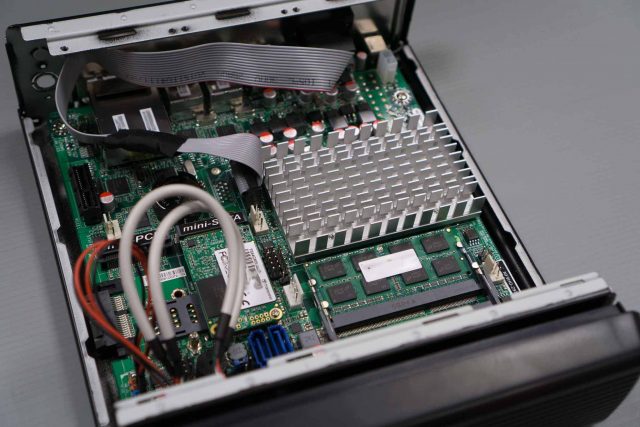
With the processor nailed down, I selected the Jetway-JNF9HG-2930 motherboard from Jetway. It comes with 4x Intel i211AT Gigabit Ethernet ports, one USB 3.0 port, one USB 2.0 port, one RS-232 serial port, and one 12V DC input jack. The pico-PSU that used to be needed in the past is now built into the motherboard itself.
The motherboard includes headers for VGA and 4 additional USB ports, among others. It has mini-PCIe and mSATA ports onboard, as well as proprietary extension side-port for use with Jetway expansion modules.
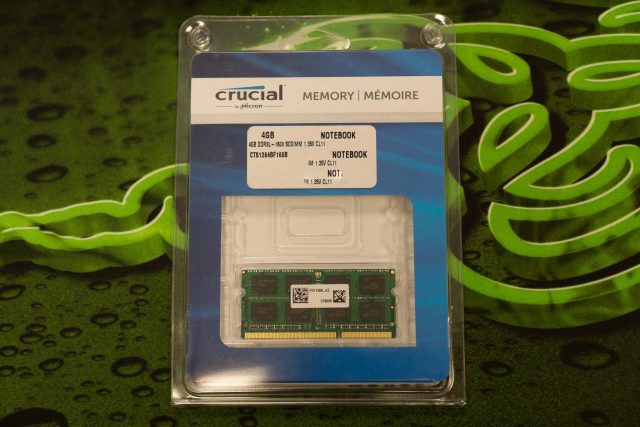
For RAM, I used the Crucial 4GB 204-pin DDR3L-1333 SO-DIMM (from Amazon). pfSense doesn’t need 4GB, but there’s no point getting less. In fact, I wondered about populating both available memory slots, but again, there’s no point at all to have 8GB of RAM. This is going to be a router, not a server.
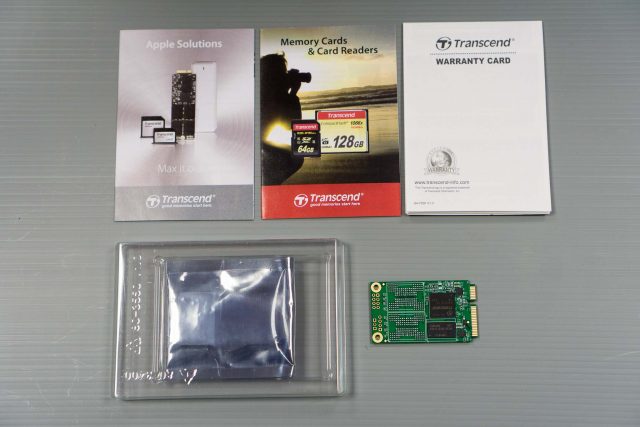
While I previously installed pfSense onto a USB stick, this time I opted to use a SSD. Instead of a SATA-type SSD drive, I went with the Transcend 64GB SATA III 6Gb/s MSA370 mSATA Solid State Drive (from Amazon). This one has 64GB capacity, over an order of magnitude more than what pfSense needs. But you know what, it doesn’t make sense, cost-wise, to get a smaller one.
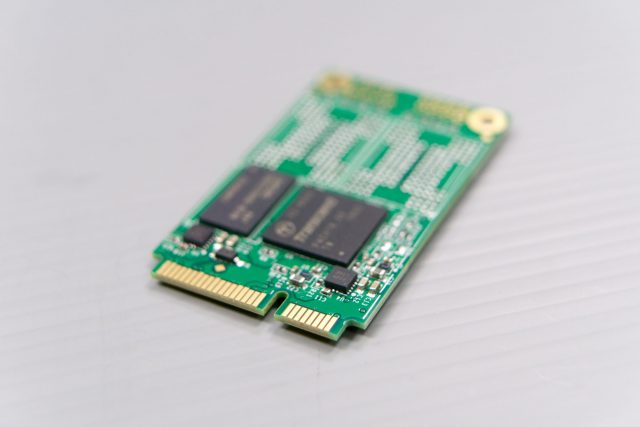
I didn’t know before this, that mSATA and mini-PCIe connectors are physically identical. In fact, you can put a mSATA module into a mini-PCIe slot, and vice versa, but they won’t work.
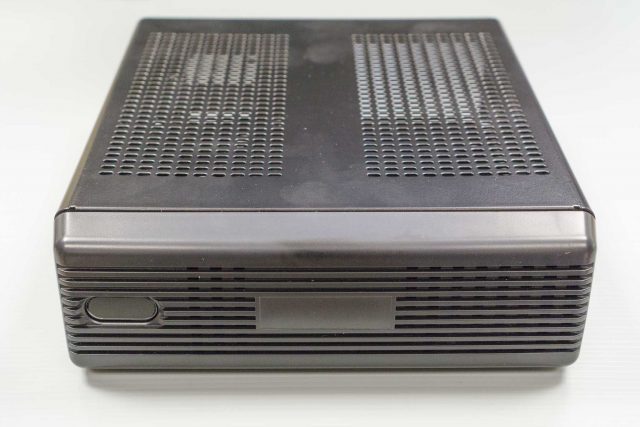
I’m still using the M350 mini-ITX chassis. It’s functional and practical. Most importantly, it’s quite budget friendly. For my particular motherboard, I could have gone for a sleek low-profile chassis, but there doesn’t seem to be cheap ones available.
Here’s the assembled box. Yes, it’s fan-less. It runs cool enough to not need a fan.
With the mini-PCIe slot, you could also add Wi-Fi support. I decided to run a Wi-Fi AP externally, and not have it inside pfSense. I figured a dedicated Wi-Fi AP will do far better with MU-MIMO and Beamforming magic.
If you have a project that requires multiple LAN ports, such as to build a router, this BOM will come in useful. Don’t build this to do layer-2 switching though. A cheap unmanageable switch is going to be faster.
Looking to roll my own pfsense box, where can I get the Jetway motherboard in Singapore? Did you ship it in?
Hi Jacob, yup it was all shipped in.
Hi,
You mention you don’t need to use the picopsu to power this motherboard. What do you use to power it then? Do you need to buy a separate AC-DC power brick?
Yes you still need an AC-DC power brick, because the motherboard does require a 12V DC in. Previously, the pico-PSU would still have required the 12V DC.
I based my Pfsense box on a i5 mini-pc drawing slightly twice the power:
https://www.aliexpress.com/item/QOTOM-Q355G4-Latest-New-Core-i5-5250U-Processor-3M-Cache-up-to-2-70-GHz-4/32798850233.html
Do you have Openvpn installed? What is the performance like?
Sorry, haven’t setup OpenVPN on this box yet. I could run openssl speed tests if you like. 🙂