| Technology
|
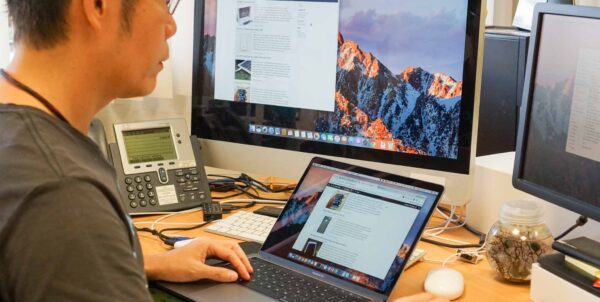
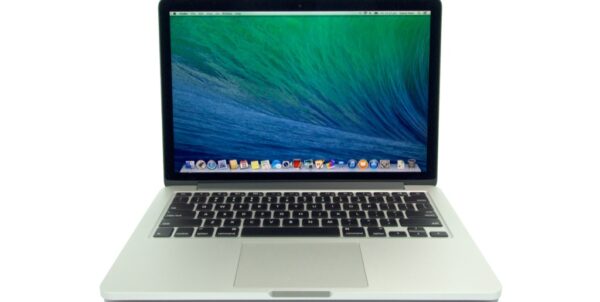
Apple’s late-2016 MacBook Pros are cool, but they cost more than before. Even the entry-level 13-inch MacBook Pro, which is without the Touch Bar, costs more than its comparable model in the previous generation. For ...
| Miscellaneous
|
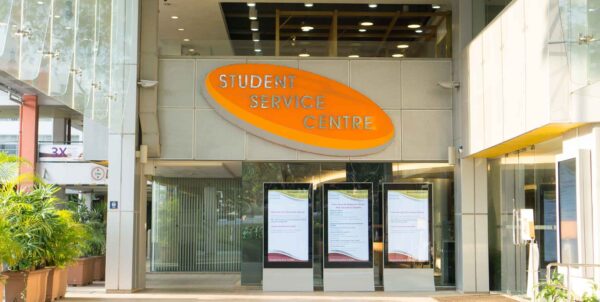
More than anything, the events in the last week or so will be an important lesson, albeit a painful one for students, and perhaps administrators too. This saga has seen many people taking different sides on the many issues at ...
| Miscellaneous
|
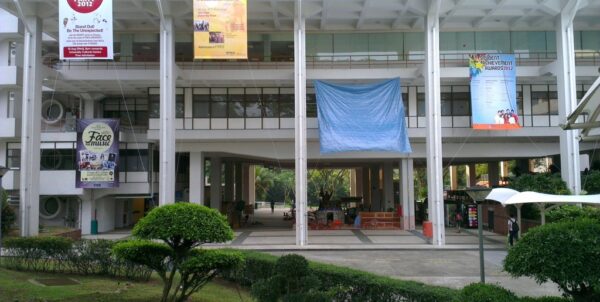
I am quite surprised by NUS’ bold and quite unprecedented move. They have cancelled the freshmen orientation week that was supposed to commence next week. That’s right. The annual freshmen orientation week, the ...
| Technology
|
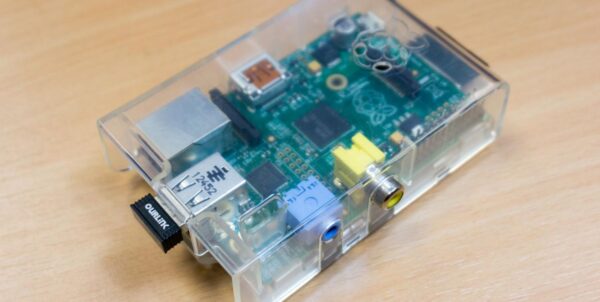
It came to my attention, recently, that people were still struggling with wireless configuration on their Linux, or Raspberry Pi, to connect with the NUS wireless network. Linux isn’t that well supported on campus, but ...
| Technology
|
Ten years ago, or even five years ago, using a Mac in NUS may prove to be a bit of a challenge. Things are quite different these days, and its not just because the Macs have become so commonplace, but the recognition of diverse ...
| Technology
|
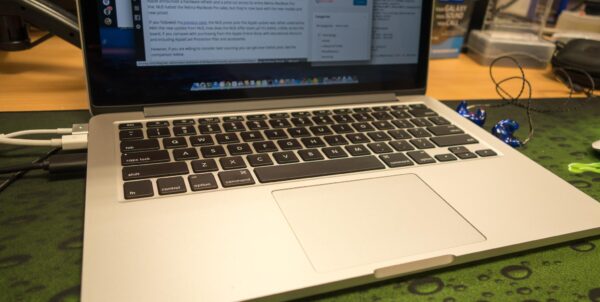
The new NUS academic year is starting just around the corner, and it’s that time of the year again where many NUS students, including those who are matriculating this year, might be looking into getting a new notebook. The ...
| Technology
|
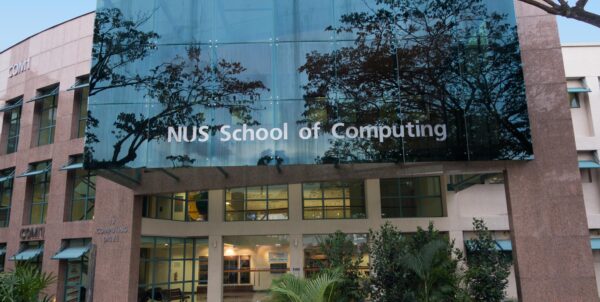
I originally intended to write just a simple support note for NUS School of Computing (SoC) users, pertaining to the WebVPN service that we use. However, I realised this information is likely just as useful to any user of ...
| Technology
|
The National University of Singapore (NUS) updated its notebook tender for 2014 last month. For people looking to buy a Retina MacBook Pro, the tender became immediately obsolete, because Apple announced a hardware refresh and ...
| Technology
|
The National University of Singapore (NUS) notebook tender for this year is now available. With the new academic year coming just around the corner, NUS students might be keenly watching out to snag a deal. As a Mac user, ...
| Miscellaneous
|
So apparently Computing is the in-thing again, according to a Straits Times article this week. We are attracting better students who prefer to choose us over other options. I suppose this is also helped in part by the high ...