I embarked on a journey to make smart my home last year. I managed to get quite a number of things done, but still there are other sub-projects that I’ve sort of procrastinated over for some time. One of them was to build a home automation touch panel, and then to write about it.
Funny enough, I took so long to write about it after building the touch panel that it broke, before I finished writing. It was only the SD card that died, so fortunately, I only had to re-setup the software. The software is actually the bulk of the work though.
My home automation touch panel is built on the Raspberry Pi. Building the hardware is the easy part, at least for people familiar with the Raspberry Pi. Just buy the required parts, assemble and wire them up, and that’s basically all there is to do.
The hardware list is as follows:
- Raspberry Pi 3 Model B
- 7″ Touchscreen Display for Raspberry Pi
- Raspberry Pi 7″ Touch Screen Case
- Miscellaneous parts: USB power supply, Micro-USB cable, SD card
As you can imagine, the total cost is very little. It’s far, far, cheaper than ready-made home automation touch panel systems.
I recommend using the latest Raspberry Pi 3 version because it comes with built-in Wi-Fi. This saves you the hassle of having to get another Wi-Fi dongle, unless you plan to only just use a wired Ethernet connection to your home automation touch panel.
While some earlier versions of the Raspberry Pi will also work with the 7″ Touchscreen Display, the higher performance is also another good benefit to have.
It’s a good thing that there’s a purpose designed touchscreen for the Raspberry Pi, along with a enclosure purpose designed to accommodate both that touchscreen and the Raspberry Pi. This gets you a presentable-looking end product without having to custom build any parts. You only need to assemble the parts. You can read my previous blog post on the Raspberry Pi 7″ Touchscreen Display.
Since my original software build, Raspberry Pi has a new Raspbian release, Raspbian Jessie with Pixel. It’s still pretty much the same Raspbian as before, but now with a new desktop UI which they call Pixel. It’s supposed to look nicer, but when you’re running this Raspberry Pi as a kiosk-style touchscreen panel, that Pixel UI doesn’t really matter.
The easiest way to put a “UI” on this kiosk is to simply use a fullscreen web browser, and write everything as a web application. With so many Javascript libraries and frameworks nowadays, this is convenient, much more so than developing a native application.
Here are some setup procedures required on the Raspberry Pi. (Noted some may have been mentioned before in other posts, but consolidated here for convenience.)
- The touchscreen display is always “upside down” with respect to the casing. Rotating through software is easy. Add to /boot/config.txt:
lcd_rotate=2 - Either setup Wi-Fi through the GUI, or by directly editing /etc/wpa_supplicant/wpa_supplicant.conf:
network={
    ssid="XXX"
    psk="XXX"
    key_mgmt=WPA-PSK
}
Or if you prefer the PSK encoded in hexadecimal, use the wpa_passphrase program (and delete the plaintext/unencoded text from the output).
- Run raspi-config to do a couple of things:
- Change User Password
- Set hostname at Hostname
- Set your timezone atLocalisation Options, Change Timezone
- Enable SSH at Interfacing Options, SSH
- Use whole SD card, go to Advanced Options, Expand Filesystem
- Do a couple of software updates and installations:
apt-get update
apt-get upgrade
apt-get install apache2
a2enmod cgi
service apache2 restart
- Modify the GUI startup to run only Chromium in kiosk mode. Replace ~/.config/lxsession/LXDE-pi/autostart with:
@xset s off
@xset -dpms
@xset s 32 32
@/home/pi/bin/start.sh
- Create /home/pi/bin/start.sh with the following commands:
DISPLAY=:0 chromium-browser --incognito --kiosk https://somewhere.com/
where https://somewhere.com/ is your landing page. Note that I prefer to have start.sh separate from the autostart file, but you could just as well launch chromium from there.
- Edit /etc/sudoers and add:
www-data ALL=(pi) NOPASSWD: /usr/bin/xset
- Create a wakescreen script, chmod 755, in /usr/lib/cgi-bin with the following contents:
#!/bin/sh

echo "Content-type: text/html"
echo
echo OK

sudo -u pi DISPLAY=:0 /usr/bin/xset s reset
By following the above instructions, the Raspberry Pi will automatically turn off the touchscreen display after 32 seconds. Then, by requesting the /cgi-bin/wakescreen URL on this Raspberry Pi web server, its touchscreen display will turn on.
In my home, this Raspberry Pi home automation touch panel is located in front of my main entrance, and it happens I have one motion sensor right there. I’ve configured my home automation controller to trigger a request to the /cgi-bin/wakescreen URL whenever the motion sensor is activated. The outcome is that every time someone approaches the touch panel, the display will automatically turn on. After some period of inactivity, the touch panel display switches off. It almost seems like I have some sort of proximity sensor hooked up to the Raspberry Pi.
For posterity reasons, I’m sharing another bit that is no longer relevant because the Google Home doesn’t talk to a local Hue bridge anymore. At one time, this was a nice thing going: I run ha-bridge on this Raspberry Pi home automation touch panel, which presents my Vera Plus home controller as a Hue device to the Google Home, allowing Google Home to control anything on the Vera Plus, and thus lights, switches and various other things in my house.
- Install ha-bridge:
mkdir habridge
cd habridge
wget https://github.com/bwssytems/ha-bridge/releases/download/v4.5.0/ha-bridge-4.5.0.jar
a2enmod proxy proxy_http headers
- Configure reverse proxy on Apache to talk to ha-bridge. Edit /etc/apache2/sites-enabled/000-default.conf and add to the end of the VirtualHost *:80 section:
 ProxyPass /api http://localhost:8080/api nocanon
 ProxyPassReverse /api http://localhost:8080/api
 ProxyRequests Off
 AllowEncodedSlashes NoDecode

 # Local reverse proxy authorization override
 # Most unix distribution deny proxy by default
 # (ie /etc/apache2/mods-enabled/proxy.conf in Ubuntu)
 <Proxy http://localhost:8080/api*>
 Order deny,allow
 Allow from all
 </Proxy>
- Run:
service apache2 restart
- Start ha-bridge though the same start.sh above, by inserting these:
cd habridge
java -jar -Dserver.port=8080 ha-bridge-4.5.0.jar > ~/habridge/data/ha-bridge.log &
- Configure ha-bridge internal web server on port 8080.
This used to work very nicely, allowing me to use voice to control the Vera Plus connected devices. Hopefully some day Google would be nice enough to revert the behaviour of Google Home to connect to local Hue devices.
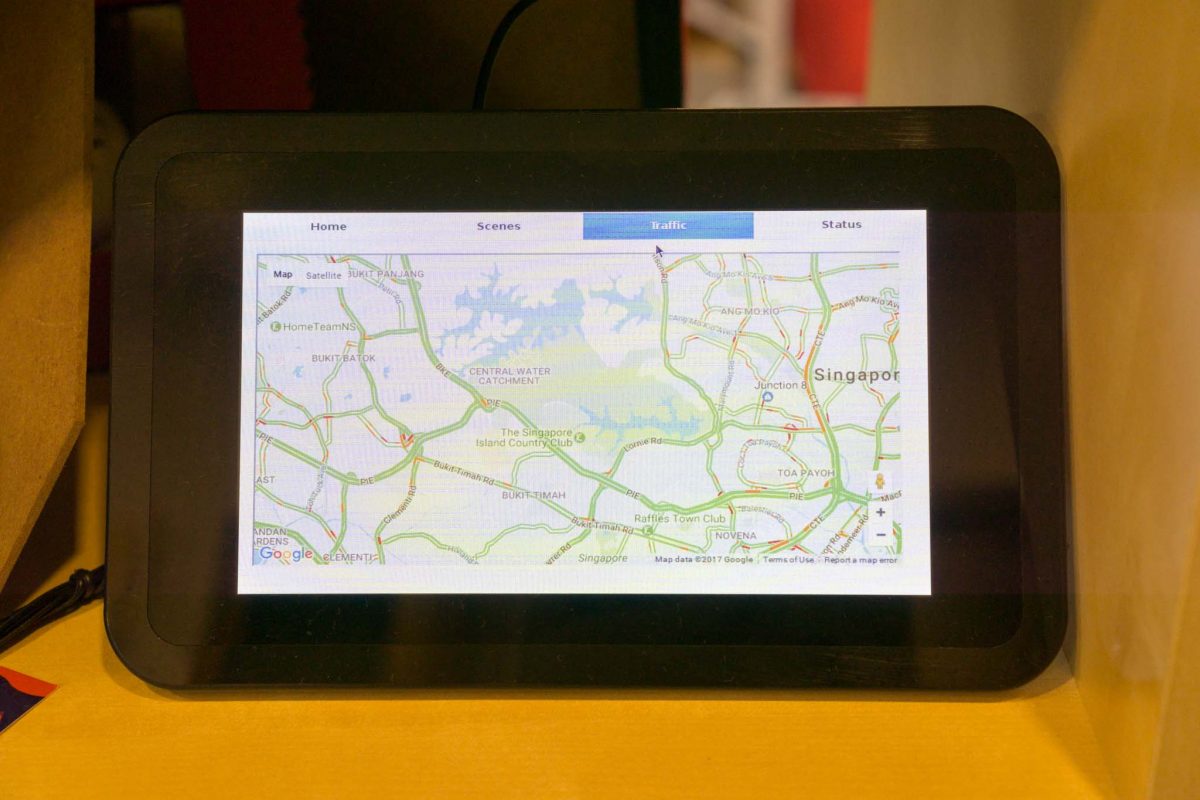
The kiosk “UI” is built with jQuery Mobile. It’s a web browser, so anything web will work nicely on it. I have, for example, a tab that shows Google Maps traffic conditions, so I can make some driving route choices as I step out of my house.
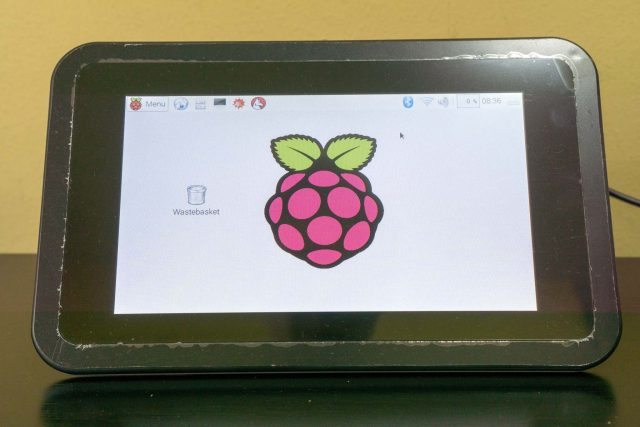
Here’s the original Raspbian Jessie UI, in case you are wondering:
The Pixel one certainly looks better:
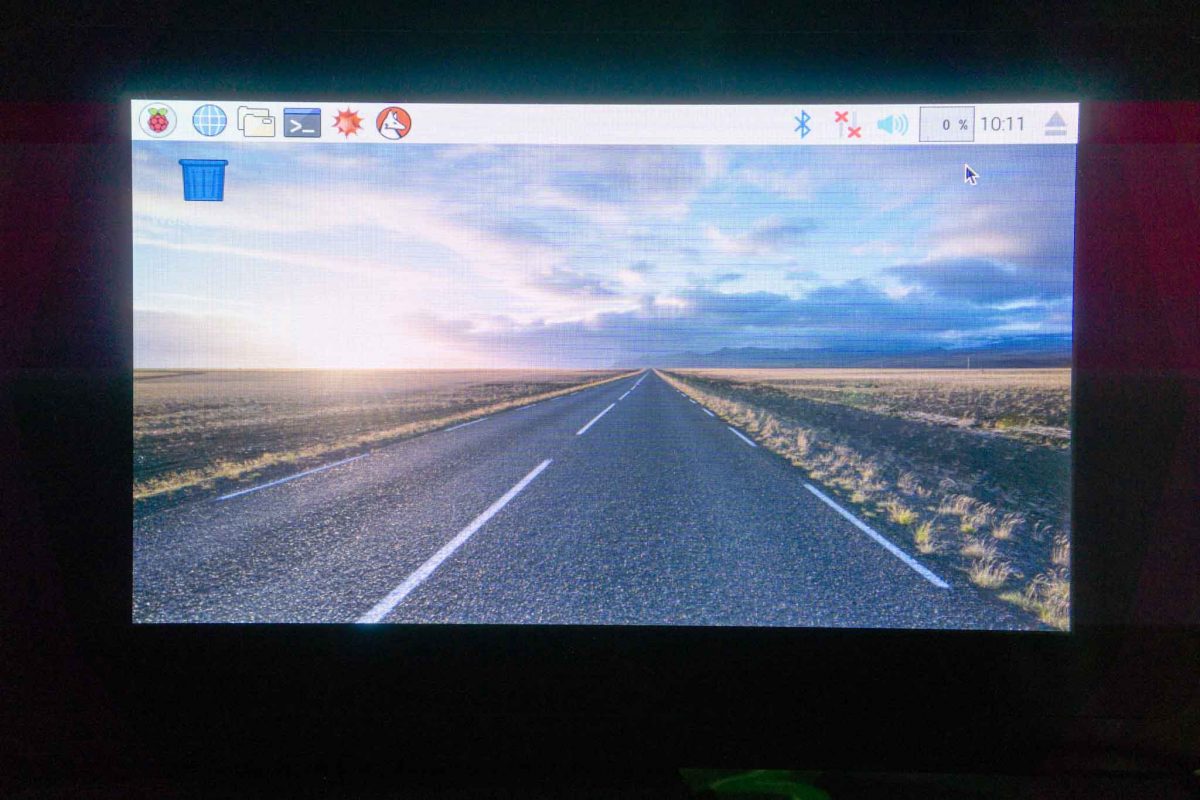
I suppose if you’re going to use the touch panel for web surfing and other general “tablet” use, Pixel is nice. But otherwise with the fullscreen browser in kiosk mode, that UI doesn’t matter at all.
For further interest, in case you want to compare against ready-made home automation touch panels, and observe that the Raspberry Pi solution doesn’t actually talk any home automation protocols, well, that’s not difficult to add in. The RaZberry Pi GPIO daughter card is really cheap too, although it wouldn’t fit into the touch screen case. You could use Z-Wave USB dongles instead, or simply add another Raspberry Pi, which wouldn’t cost too much either.
View Comment Policy