Like keyboards, people can have strong personal preferences and attachments to their mice, and they can make a significant impact on one’s productivity. Continuing their MX Master series of mice, Logitech hopes their latest MX Master 3 will win a spot next to your computer.
The Logitech MX Master 3 doesn’t differ too much from its predecessors. The tweaks and refinements from the earlier generations, however, come together to make the MX Master 3 an excellent premium productivity mouse.
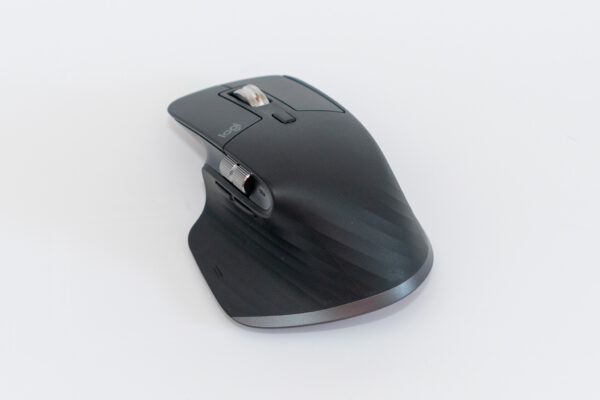
In a nutshell, the MX Master 3 can be described as a large, ergonomically-shaped, right-handed mouse with really good scroll wheels, and a half dozen configurable buttons.
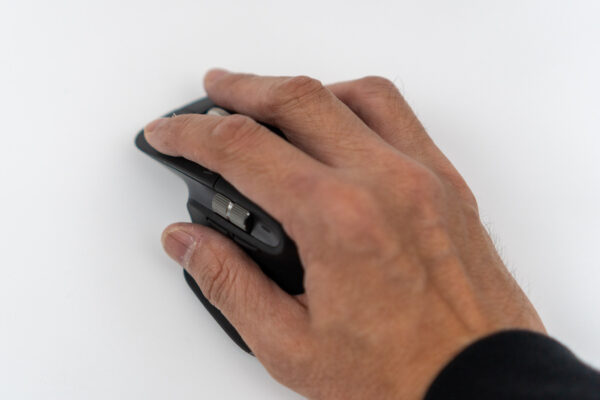
The MX Master 3 fits very comfortably under my palms. The thumb rest accommodates and supports my thumb perfectly The slightly soft, matte, textured surface feels good, and do a good job repelling fingerprints.
On the top of the mouse, there are the usual left and right buttons, accompanied by a mode vertical scroll wheel which also functions as a middle button, and a mode shift button.
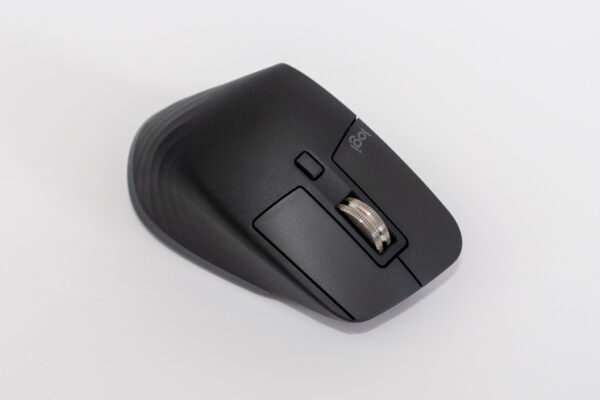
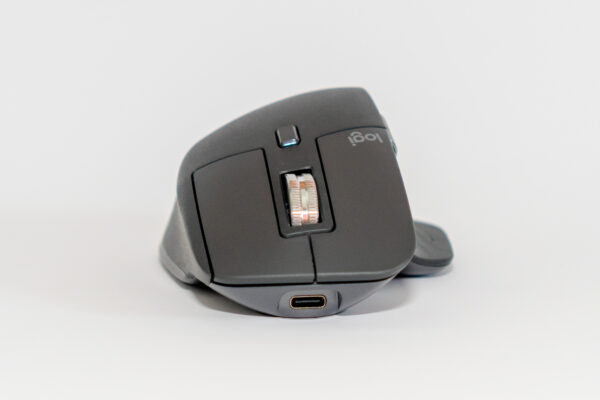
On the side of the MX Mater 3, there’s a horizontal scroll wheel, forward and backward buttons, and a gesture button that is placed under the side of the thumb.
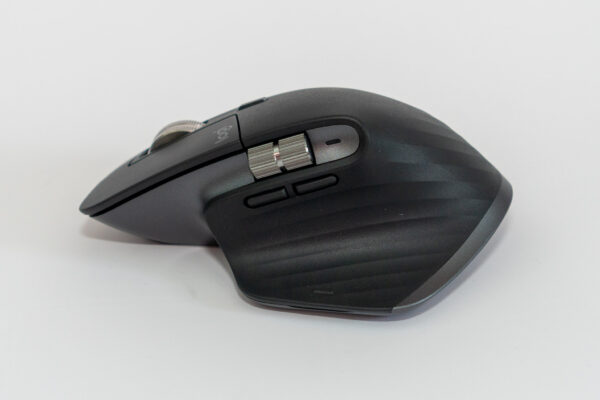
The two scroll wheels are made of machined stainless steel and they feel really very premium. The vertical and horizontal scroll wheels work as you’d expect. There is, however, some extra tricks with the vertical scroll wheel.
The vertical scroll wheel scrolls in two modes. There is ratchet mode, which means the wheel moves line-by-line for precision, or free-spin mode, where the wheel spins freely and lets you scroll through super long pages or documents at great speed.
However, instead of having a mechanical mode switch button that physically changes how the wheel spins, the MX Master 3 uses electromagnets to engage or disengage a ratchet that controls the vertical scroll wheel’s mode. What this means is that the MX Master 3 can switch modes electronically, and Logitech has taken advantage of this technology to create extra usability. There are three wheel scrolling behavours:
- The mode shift button can be used to select free-spin mode. The wheel spins freely, ’nuff said.
- Otherwise, the scroll behaviour depends on SmartShift mode selected in software. When SmartShift is enabled, the wheel scrolls line-by-line, unless you flick it with some force, in which case free-spin is automatically engaged. Once the wheel stops, the ratchet line-by-line mode is selected.
- When SmartShift is disabled, you get a hybrid kind of behaviour. You can feel the clicks as you move the wheel line-by-line, but even if you use a little force to set the wheel in motion, it will spin as if in free-spin mode, but, it slows down far more rapidly than in true free-spin mode. This is line-by-line ratchet mode but with a propensity to spin more.
I’m quite fascinated with the scrolling modes.
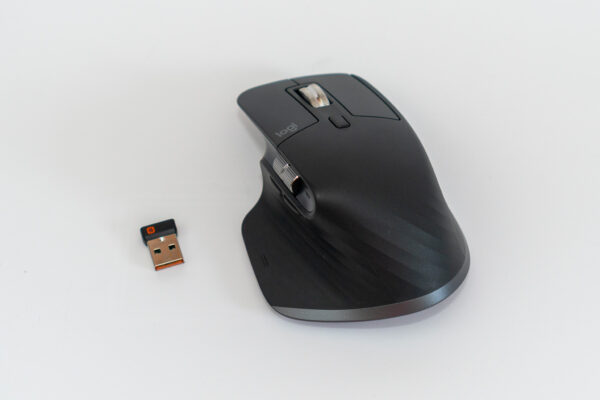
The MX Master 3 can be paired with up to three devices, either over Bluetooth or with Logitech’s Unifying Receiver, one of which is included in the box.
Switching between devices is selected by a button on the underside of the mouse. A LED button automatically lights up when you turn the mouse over to show which device is currently selected.
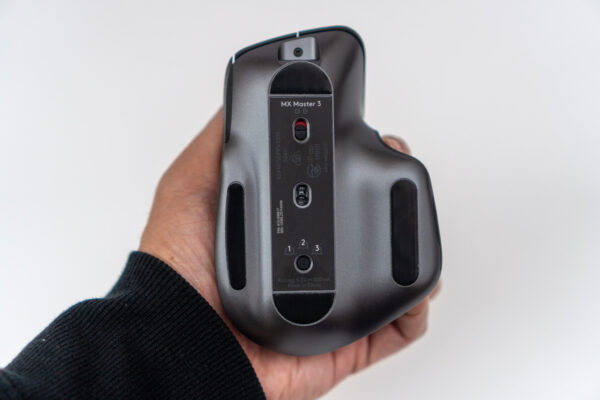
There is also a physical on-off slider switch, so you can switch off the MX Master 3 when it is not in use.
The MX Master 3 uses an internal rechargeable battery that is rated to last up to 70 days on a full charge, and up to three hours from just one minute of charging. A small LED indicator on the side of the mouse will light up in red to indicate it’s low on power. Charging the mouse is via a USB Type-C port located at its front. I’m happy to see USB Type-C being used, if only mainly so that I can start to retire my Micro-USB cables.
You’ll need to download and install the Logitech Options software, available for both Windows and macOS, to get at the more advanced and configurable options available with the MX Master 3. In particular, you need the software to customise the action performed by these six configurable buttons:
- Middle button (the vertical scroll wheel)
- Forward and back buttons (at the side of the mouse)
- The Guesture button (located under the thumb)
- Horizontal scroll wheel
- Mode switch button (yes, you can change it to do something else)
In fact, you can also customise what those button above do on a per-application basis. Logitech provides some presets for Adobe Photoshop, Google Chrome, Micosoft Edge, Microsoft Excel, Microsoft PowerPoint, and Microsoft Word.
Logitech also provides a Flow feature, also requiring the use of the Logitech Options software, to allow you to “flow” your mouse pointer when you leave the screen of one computer into the screen of another computer. Flow will also bring a supported Logitech MX keyboard along during the switch, making it convenient to work on multiple computers together. Flow requires all the computers to be on the same network to work.
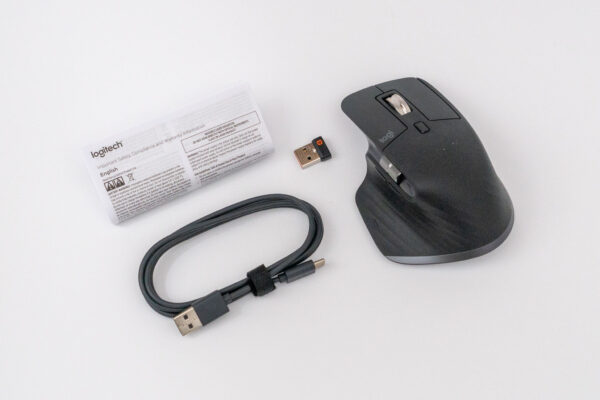
In the retail box, the Logitech MX Master 3 includes the aforementioned Unifying Receiver, and a USB Type-A to Type-C cable.
Compared with the Logitech Triathlon M720 mouse that I’ve been using, the MX Master 3 has a larger, more comfortable, ergonomic fit. I like the extra horizontal scroll wheel on the MX Master 3, as well as the very nice vertical scroll wheel. The Gesture button is placed slightly differently, and did take me a little while to get used to.
The Logitech MX Master 3 retails at S$169, available from online sites like Lazada and Shopee, as well as other major retail stores.
1 thought on “Logitech MX Master 3 Mouse Review”
View Comment Policy