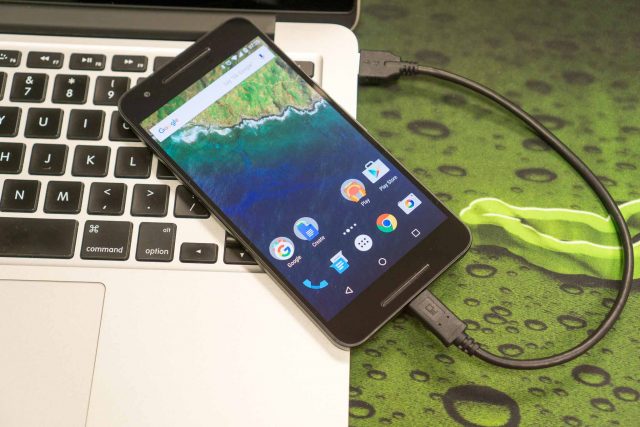
One of the benefits of using a Nexus device is that you get the latest Android updates as soon as they roll of the press, in a manner of speaking. The problem is that Google’s press seems to move really slowly. So while there are monthly Android patches, you might have to wait up to three weeks to get them.
I’m a little impatient. Apple can roll out major OS X version upgrades instantaneously to everyone. We’re talking about 5 GB downloads. So I’m kind of expecting my Android updates to arrive the day Google announces them. They’re often no more than a few tens of MBs at the most.
From time to time, I let my impatience get the better of me and take matters into my own hands. Yes, I push the OTA updates into my phone myself.
This guide is written for the Nexus 6P, and it is mostly the same as a similar OTA update post I wrote for the Nexus 5X. The steps are pretty standard and should be familiar to most seasoned Android users. But if you need some hand-holding, this guide is for the novice doing such an OTA update manually for the first time.
Updating your stock unrooted Nexus device this way doesn’t invalidate the “officialness” of your phone in any way. If your Nexus was locked, it will remain locked. For all purpose and intent, your Nexus device would be indistinguishable from one that had truly been updated over-the-air. Updating your device this way is effectively the same as doing the actual update over-the-air. You will not need to wipe your phone, and all your data is preserved.
The first order of business is to locate the OTA update file. Usually, some kind soul who has received the OTA update over-the-air would have discovered the update source and shared the information. It’s February now, and the February patch for the Nexus 6P, bring its build number from MMB29P to MMB29Q is here (discovered on Reddit). This is known as the OTA update file. You need the specific OTA that applies to the build you currently have. Your current build is found under Settings, About phone, Build number.
Don’t worry about whether or not the OTA update file is legit. It’s downloaded over HTTPS from Google. It’s also signed, and the signature is verified during the update.
Next, you need to get adb, the Android Debugger Bridge, for your computer. It’s part of the Android SDK. Download and install the Android SDK for your platform. Windows users will also need to install Google USB drivers (which is included in Android SDK). Mac users will find that their USB just works. Then, locate the actual adb executable. For Mac users, it’ll be in ~/Library/Android/sdk/platform-tools/adb.
You’ll also need to enable USB debugging on your Nexus device. If you’ve not done tthis, then here are the steps.
- Go to Settings, then About phone. Scroll down to Build number, and tap it seven times. A dialog box will show up to tell you that you’re now a developer.
- Go back to Settings. You’ll now find a Developer options item, before the About phone one. Tap on Developer options.
- Make sure that the Developer options’ main switch is On. Then turn on USB debugging.
- Connect your Nexus device to your computer. Click Ok on the dialog box that shows up asking you to Allow USB debugging.
- On a command line, run
adb devices, making sure your Nexus device is detected. Remember tocdfirst to the directory containing theadbexecutable. For Mac users, you should also prefix the command with./, as in:./adb devices.
The last two steps are not needed to do an update. We’re doing it only so that you know your Nexus device and your computer are setup correctly to communicate with each other. It helps a lot to make sure you have this part working properly first.
Now, we’re ready to get on with the actual OTA update.
- Connect your Nexus device to your computer. Click Ok on the dialog box about Allow USB debugging if needed.
- Type
adb reboot recoveryto go into recovery mode. (The alternative is to turn off your Nexus device. Then, press and hold the Volume Down and Power buttons at the same time for a few seconds until the phone boots into the bootloader. Then press the Volume Down key until Recovery mode is displayed, then press the Power button.) - In Recovery mode, you’ll first get a screen showing an Android with a red exclamation mark icon. Press and hold the Power button, then press the Volume Up button briefly, then let go both buttons. You’ll now see the Recovery menu.
- Use the Volume buttons to navigate to Apply update from adb, and press the Power button.
- On your computer’s command line, type:
adb sideload path-to-OTA-update-file.zip.
The OTA update will now run and do its work. Sit back. The phone will eventually reboot. There’ll be an Optimising Android apps step, before your home screen will load and everything’s completed.
Your OTA update is done.
Interestingly, unlike in previous OTA updates, going from MMB29P to MMB29Q did not require Android to “re-optimise” its apps, so the reboot after the OTA is applied is as quick as a usual boot up. (Actually, I noticed that in MMB29P, wiping cache and reboot does not, similarly, rebuild the Android app cache.)
Your Nexus device is still as official as it can be. The next time there’s an OTA update, your phone can still fetch and apply the update, according to Google’s schedule for your phone. Of course, if you’re impatient, you could go the manual OTA update route again.

View Comment Policy